![하드코드->forEach->이벤트 위임 [점점 나아지는 코드 맛보기]](https://img1.daumcdn.net/thumb/R750x0/?scode=mtistory2&fname=https%3A%2F%2Fblog.kakaocdn.net%2Fdn%2FnWNYm%2FbtrB5KA49Y5%2FfBC9vA7ZzVDS1c7AoBBuR1%2Fimg.png)
버튼이 클릭될 때 마다 해당색깔로 상자의 background color가 변화되게 해보자.
전제조건
- 버튼을 다시 클릭하면 색깔이 없어져야한다.
const colorBox = document.querySelector('.color');
const buttons = document.querySelector('.buttons');
buttons.addEventListener('click', (e) => {
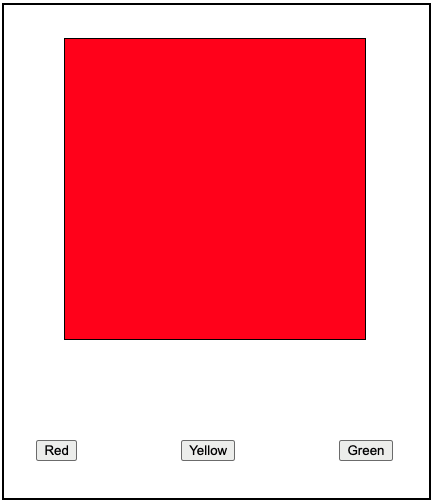
if (e.target.className === 'red-button') {
colorBox.style.backgroundColor = 'red';
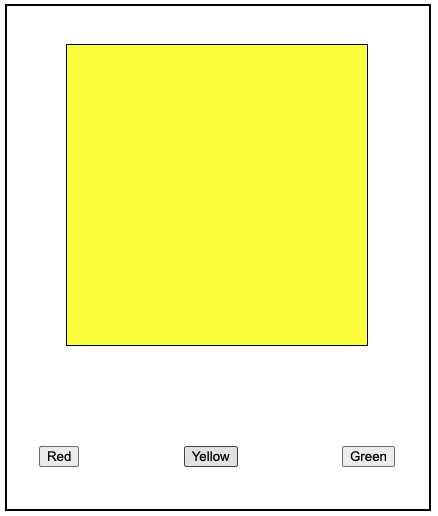
} else if (e.target.className === 'yellow-button') {
colorBox.style.backgroundColor = 'yellow';
} else if (e.target.className === 'green-button') {
colorBox.style.backgroundColor = 'green';
}
});Level 1. 각각의 버튼에 click이벤트 주기
처음에 초보자로서 짤 수 있는 코드는, 각각의 버튼에 이벤트를 주는 것이다.
그래서 각각의 버튼이 눌릴 때 마다 해당 백그라운드 색깔을 가진 클래스이름을 toggle해주고, 해당색깔을 제외한 나머지색깔은 remove해주는 식이다.
      const redBtn = document.querySelector('.red-button');
      const yellowBtn = document.querySelector('.yellow-button');
      const greenBtn = document.querySelector('.green-button');
      const colorBox = document.querySelector('.color');

      redBtn.addEventListener('click', () => {
        colorBox.classList.toggle('red');
        colorBox.classList.remove('yellow');
        //  => colorBox.classList.toggle('red', 'yellow'); 도 가능
        colorBox.classList.remove('green');
      });
      yellowBtn.addEventListener('click', () => {
        colorBox.classList.remove('red');
        colorBox.classList.toggle('yellow');
        colorBox.classList.remove('green');
      });
      greenBtn.addEventListener('click', () => {
        colorBox.classList.remove('red');
        colorBox.classList.remove('yellow');
        colorBox.classList.toggle('green');
      });
Level 2. for each문 사용하기
먼저 버튼들을 배열로 만들어주고,
if문을 달아주어 각각의 요소에 click이벤트가 발생 할 때 classname이 일치하면 해당 색깔의 class를 add해주었다.
항상 모든 색깔클래스를 일단 remove하고 시작한다.
      const redBtn = document.querySelector('.red-button');
      const yellowBtn = document.querySelector('.yellow-button');
      const greenBtn = document.querySelector('.green-button');
      const btnArr = [redBtn, yellowBtn, greenBtn];

      btnArr.forEach((item) => {
        item.addEventListener('click', () => {
          colorBox.classList.remove('red', 'green', 'yellow');
          if (item.className === 'red-button') {
            colorBox.classList.add('red');
          } else if (item.className === 'yellow-button') {
            colorBox.classList.add('yellow');
          } else {
            colorBox.classList.add('green');
          }
        });
      });
사실 코드 양으로 봤을 땐 Level1의 코드와 별 차이가 없어 보일 수 있으나. 앞으로의 확장성을 생각하면 Level 1은 새로운 버튼에 eventListener를 또 새롭게 만들어줘야하지만 Level2dml 코드는 배열에 추가해주고 forEach안에 계속 연결해주면 되니 훨씬 효율적이다.
Level 3 이벤트 위임 이용하기
하지만 Level2의 for each 문도 결국 각각의 버튼에 이벤드를 걸어주고있다는 것은 Level1과 크게 다르지 않고 딱히 획기적이지도 않다. 이 때 이벤트를 딱 한번만 걸어서 3개의 버튼을 다 처리해줄 수 있는 방법이 바로 '이벤트 위임'을 사용하는 것인데, 부모에게 이벤트를 한번만 걸어놓고, if문을 사용해 click했을 때 이벤트 타겟이 가지고있는 className으로 색깔을 구분해주는 것이다.
      const colorBox = document.querySelector('.color');
      const buttons = document.querySelector('.buttons');

      buttons.addEventListener('click', (e) => {
        if (e.target.className === 'red-button') {
          colorBox.style.backgroundColor = 'red';
        } else if (e.target.className === 'yellow-button') {
          colorBox.style.backgroundColor = 'yellow';
        } else if (e.target.className === 'green-button') {
          colorBox.style.backgroundColor = 'green';
        }
      });
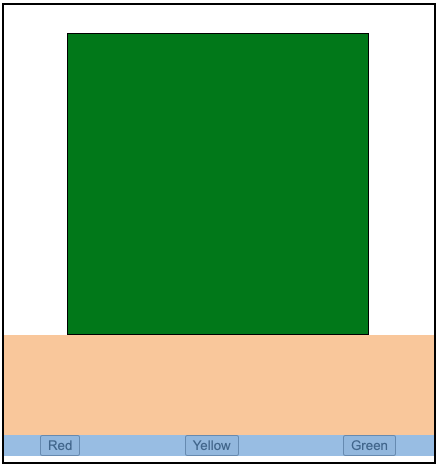
저 부모영역 중 클릭했을 때 이벤트 타겟이 가지고 있는 className이 green-button일 경우에만 박스가 초록색으로 바뀐다.
그래서 엄밀히 따지면 저 여백에도 이벤트가 걸려있는것이다. 하지만 여백은 클릭했을 때 className이 없으므로 실행되지 않는다.

콘솔창을 열어 이벤트 타겟을 살펴보면 green-button이라는 class가 붙어있는 것을 확인할 수 있다.
자바스크립트를 처음 시작했다면 클린코드/명시적코드/아름다운 코드 등등 요즘 개발 좀 한다고 하면 지켜야하는 화려한 미사여구에 현혹되지 말고 '일단 돌아가게 만드는 것' 이 제일 중요하다고 한다.
물론 억지로 효율성이 떨어지는 코드를 짤 필요는 없겠지만, 이런 코드들은 많이 눈에 익혀놓으면서도 최고의 코드에 스트레스 받지 말고 내가 최대한 구현할 수 있는 것을 구현하자.
'Front-End Developer > JavaScript' 카테고리의 다른 글
| preventDefault속성으로 우클릭 제어하기 (0) | 2022.05.16 |
|---|---|
| (DOM)click이벤트로 HTML요소 텍스트와 CSS스타일 변경하기 (0) | 2022.05.16 |
| blur와 click을 같이 쓸 때, 내 맘대로 안되는 이유 (0) | 2022.05.13 |
| DOM이란 무엇인가 (0) | 2022.05.13 |
| JS 이벤트 플로우 완벽이해 (0) | 2022.05.13 |